For a while now I have been thinking about macarons - I achieved the perfect macaron bake the first time I attempted these tricky treats, but every attempt since has resulted in less than ideal results. So for that reason I have sat down, done a lot of reading and for me the recipe I am writing about here has produced the best results.


There are a number of macaron techniques - French, Swiss or Italian. French is the simplest, but I think Italian gives the best shine and overall texture, so it is worth the extra effort in my opinion. I also think that if you are serious about macaron making it is definitely worth investing in a sugar thermometer and macaron silicon mat. I have two, one from Lakeland and another I ordered online from Amazon - I prefer the latter as it is reversible and has two different sizes, but both make piping simpler.
I have made a basic macaron recipe, and the beauty of this is you can colour your macarons however you fancy, and make different flavoured fillings to mix up the macaron experience. One tip for colouring your macarons, gel colouring is much superior to liquid colouring as the liquid will affect the texture of the finished treat.
My final tip for attempting macarons is be patient - they take a while to create but are definitely worth it when they work. Like me, you will probably get batches which don't turn out perfect but persevere because it is a great feeling when they do work.
This recipe makes around 40 medium shells.
Ingredients:
200g Ground almonds
200g Icing sugar
75ml Water
200g Caster sugar
160g Egg white
Food colouring of your choice
Method:
Pre heat your oven to 150C/ 140C fan assisted.
Combine the almonds and icing sugar in a food processor and blitz until very fine. Sieve into a large bowl and discard any lumps. This is important as it will give you a smooth finish to the macaron. I am not a fan of sieving, but definitely an important step. The mix of equal proportions of almond and icing sugar is know as a tant pour tant.
In a saucepan bring the water and caster sugar to a boil, this needs to reach 115 degrees C but not go over. Whilst the sugar is boiling whisk 80g of the egg white to soft peaks, I use my trusty KitchenAid for this as the whites need to be whisked for a while.
When the sugar reaches 115C take the mixture off of the head and increase the speed on the whisk. Slowly pour the sugar into the egg whites, and leave this to whisk for about 10 minutes, so that the sugar cools.
Mix the tant pour tant with the remaining 80g of egg white, to form a paste. If you are colouring your shells, this is the time to add a few drops of colourant. When the egg white mixture has cooled slightly, incorporate about a third into the almond mix gently to loosen it, and then combine the remaining two thirds.
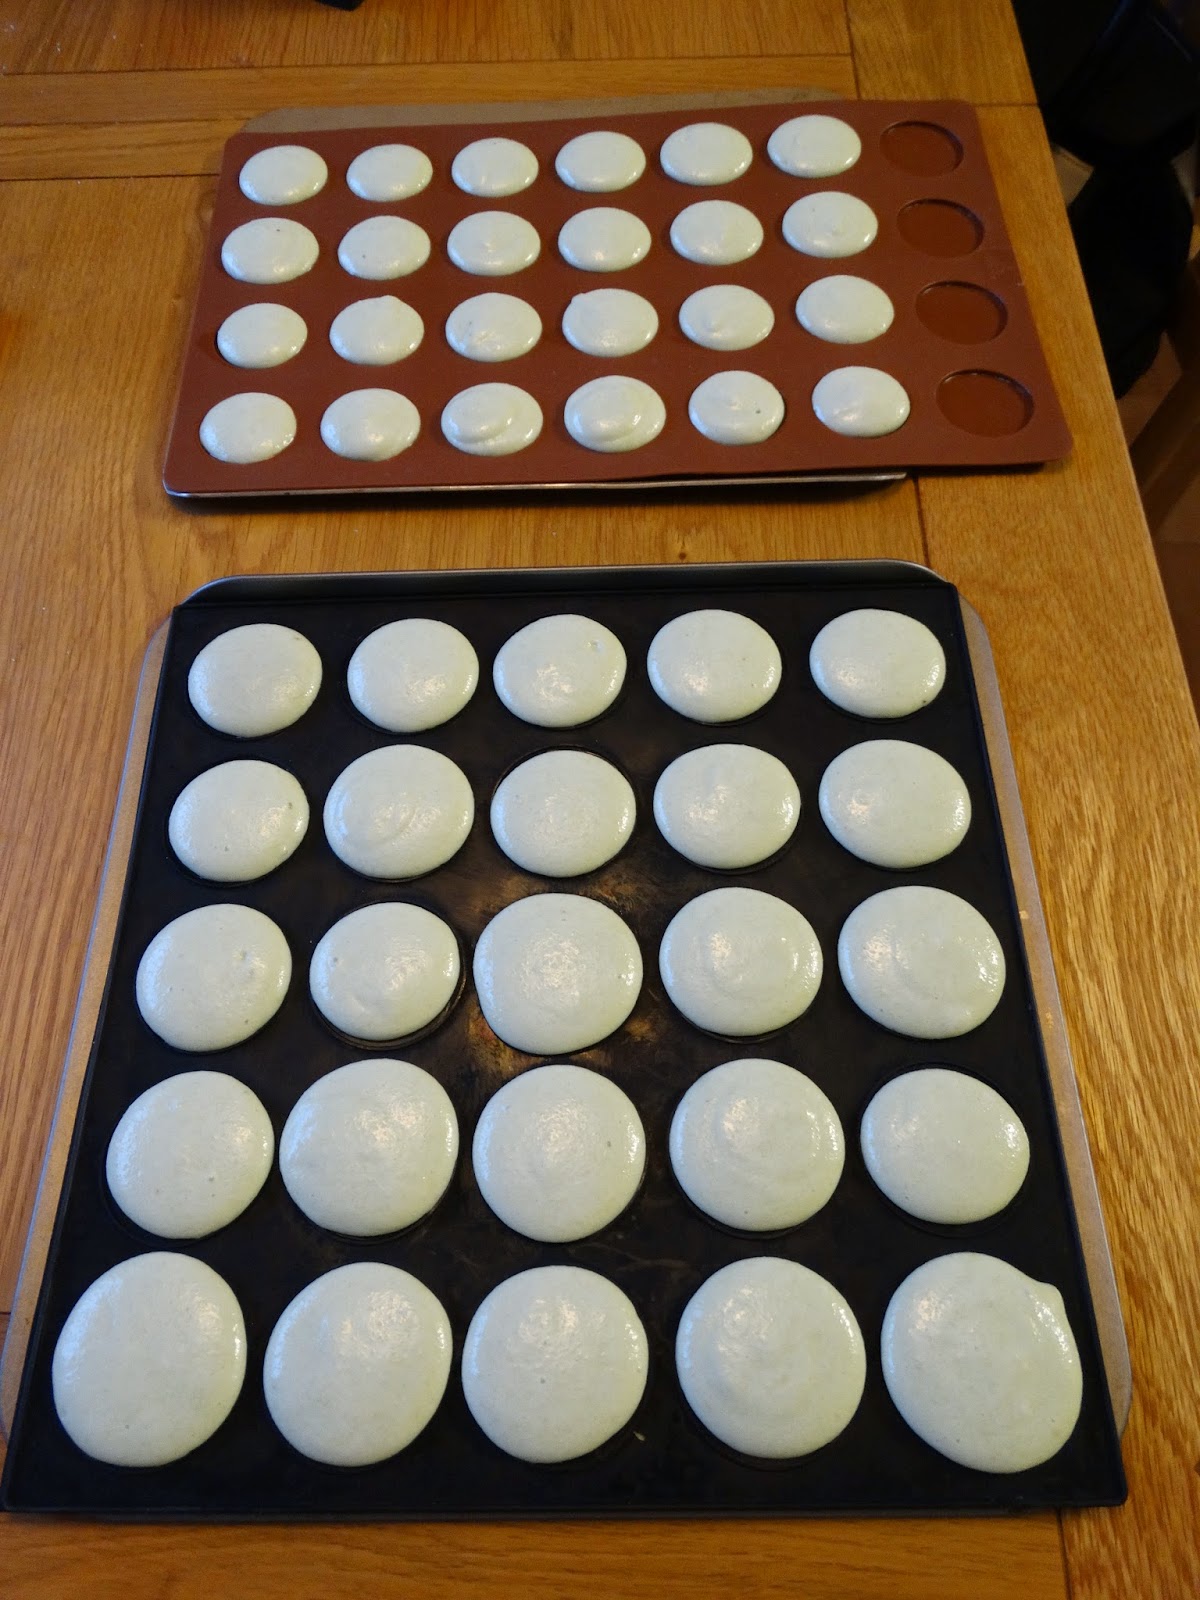
When the egg whites are fully mixed in, fill your piping bag and pipe the shells onto either a baking sheet of a macaron mould. Below is my Lakeland Vs online mould experiment:
When piped, gently hit your baking trays on a hard surface - this is to remove any air bubbles from the shells which can create air pockets whilst they bake. Leave for half an hour at room temperature to form a skin. When the macarons are baked this skin becomes crisp and the moisture will rise without cracking the shells.
Once the shells have formed their skin (you test this but gently brushing with your finger - if the skin is formed you won't get sticky) place in the oven and bake for around 20 minutes. About half way through open the oven door to let out any steam. Your macarons are ready when you can touch them without them wobbling - take them out and leave to cool fully before removing from the mould/ baking sheet. I have been caught out here before, and had shells disintegrate in front of me.
Whilst the shells are cooling you can make your filling - I chose a chocolate butter cream, which is very simple to make - mix together 25g soft butter with 175g icing sugar and 2 tbsp of cocoa powder until fluffy.
Once the shells are cool and you can fill and sandwich together, then sit back and admire your hard work!
Comments
Post a Comment